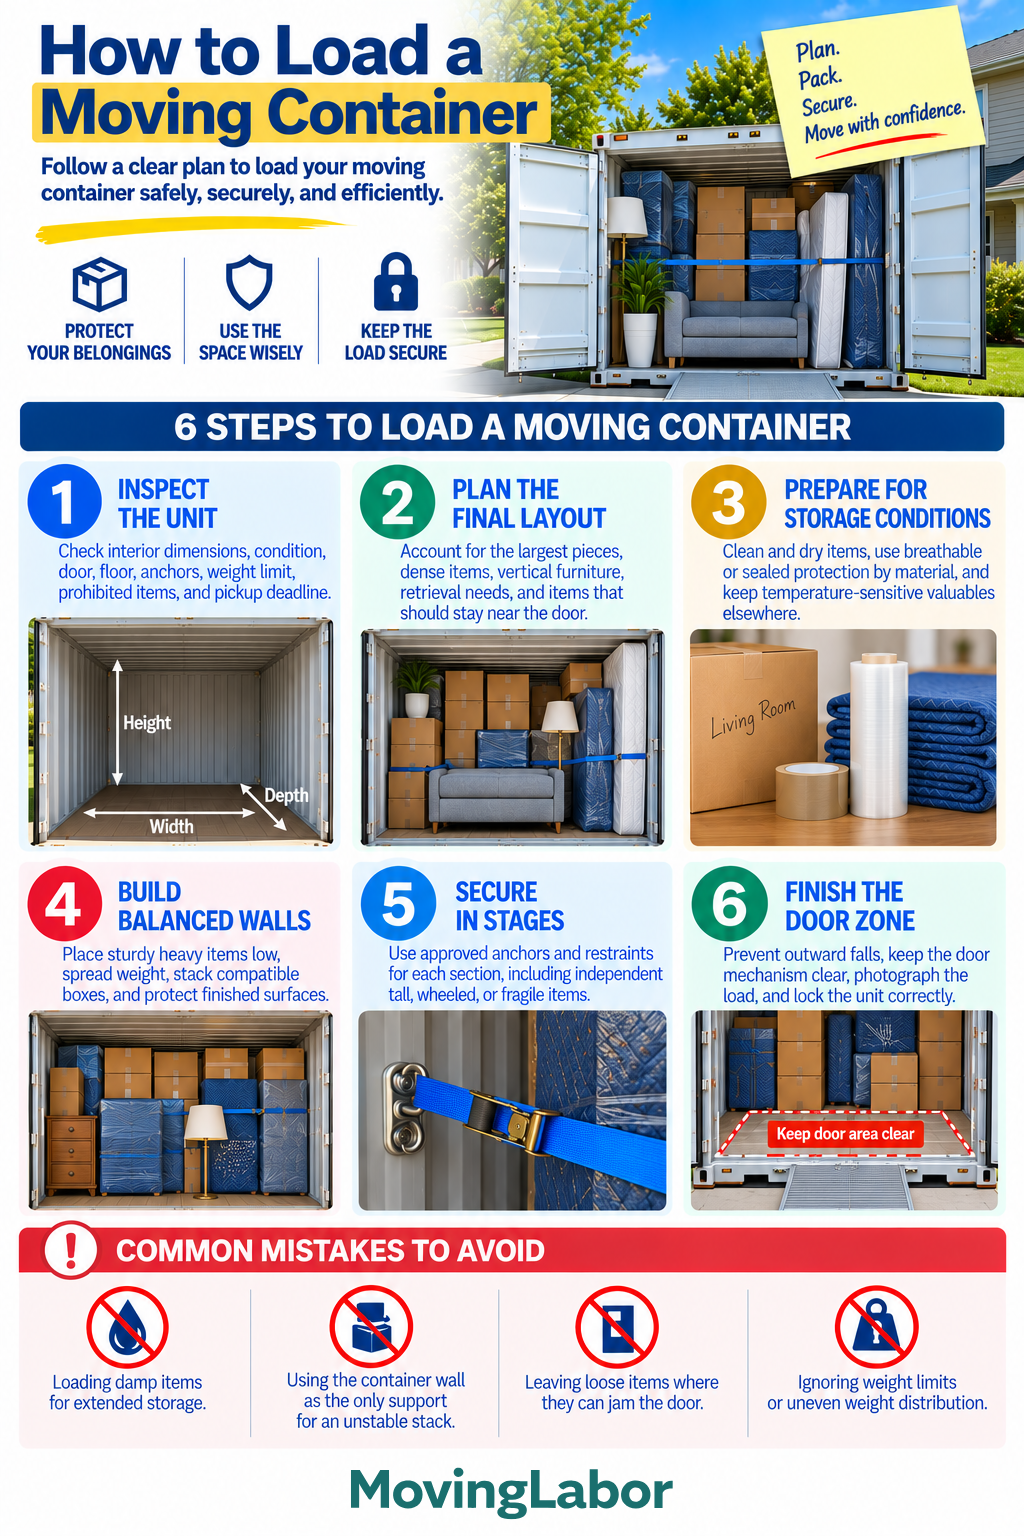
Load a moving container by first checking the specific unit and its loading requirements, then planning where large and heavy belongings will go. Keep heavy items low, distribute weight across the container, build stable sections, protect furniture and boxes, secure the load as you go, and keep the door area clear.
If the loaded container will remain in storage, make sure belongings are clean and dry before loading and consider how storage conditions may affect moisture-sensitive or temperature-sensitive items.
Quick Answer
Inspect the container before loading and confirm its dimensions, weight limit, tie-down points, prohibited-item rules, and pickup schedule.
Plan the largest and heaviest belongings first. Distribute weight rather than concentrating it in one area, build stable sections from the floor up, protect furniture from contact, and secure completed sections as loading progresses. Finish by checking the door area and locking the container according to provider requirements.
Step-by-step plan
1. Inspect the unit
Inspect the specific container before belongings go inside.
Check the floor, walls, roof, doors, and visible condition. Look for signs of damage or water intrusion and identify the available tie-down or anchor points.
Confirm the container's weight limit, usable dimensions, prohibited-item rules, lock requirements, and scheduled pickup.
2. Plan the final layout
Decide where the largest, heaviest, and most difficult belongings will go before loading begins.
Account for furniture dimensions, dense boxes, appliances or other heavy items, upright pieces, fragile belongings, and anything that may need to remain accessible.
Plan the door area as part of the layout rather than filling it with whatever remains at the end.
3. Prepare belongings for the container
Load belongings only after they are clean and dry.
Use appropriate boxes, moving pads, covers, and other protection based on the item. Protect finished surfaces from rubbing against boxes, furniture, or the container.
If the container will remain in storage, consider whether moisture-sensitive or temperature-sensitive belongings are suitable for the expected conditions. Do not load prohibited items.
4. Build stable, balanced sections
Keep sturdy, heavier belongings low and distribute dense weight across the container rather than concentrating it on one side or in one small area.
Stack compatible boxes with corners supported, protect furniture surfaces, and control gaps that could allow belongings to shift.
Build each section so it can remain stable on its own. Do not rely on the container walls as the only support for an unstable stack.
5. Secure in stages
Secure completed sections as loading progresses instead of waiting until the container is full.
Use suitable restraints with appropriate anchor points where available and permitted. Pay particular attention to tall, narrow, wheeled, top-heavy, or fragile belongings that could move independently.
Restraints should help maintain an already stable load rather than compensate for poor stacking or weight distribution.
6.Finish the door zone
Keep the door mechanism and immediate opening clear.
Arrange the final section so boxes or furniture cannot fall outward or place excessive pressure against the doors during transportation.
Before closing the container, inspect the load for loose items, unstable stacks, exposed furniture surfaces, and unsecured belongings. Photographing the completed load can also provide a useful record of how it was packed.
Close and lock the container according to the provider's requirements.
Decision checkpoints
- Before loading: Inspect the container and confirm its dimensions, weight limit, anchors, prohibited-item rules, and lock requirements.
- As loading begins: Position large and heavy belongings according to the planned layout and monitor weight distribution.
- As each section is completed: Check stability, protect contact points, control gaps, and add restraints where appropriate.
- Before closing the doors: Inspect the final section, confirm the door area is clear, photograph the load if desired, and secure the container.
Move-day checklist
- Inspect the container before loading
- Confirm the weight limit and loading rules
- Review prohibited items
- Make sure belongings are clean and dry
- Load heavy belongings low
- Distribute weight across the container
- Protect furniture and finished surfaces
- Build stable sections from the floor up
- Control gaps that could allow shifting
- Secure completed sections as you go
- Keep the door mechanism clear
- Check the final door zone
- Confirm lock and pickup requirements
Common mistakes to avoid
Loading damp belongings
Moisture introduced with wet furniture, textiles, boxes, or other belongings can create problems during transportation or storage. Allow items to dry before loading.
Concentrating too much weight in one area
A container may have available space while still approaching its allowable weight. Keep heavy belongings low and distribute dense items rather than grouping them all on one side or in one section.
Using the container wall to support an unstable stack
Container walls can help define the available space, but they should not be the only thing preventing an unstable stack from falling. Build stable sections and secure them appropriately.
Waiting until the end to secure everything
Once the container is full, important anchor points may be difficult to reach. Secure appropriate sections as loading progresses.
Blocking the door area
Loose boxes or furniture can shift against the doors during transportation, making the container difficult or hazardous to open. Keep the final section stable and the door mechanism clear.
Where professional moving labor fits
Professional moving labor can load or unload a customer-arranged portable moving container.
Coordinate the crew with the confirmed container delivery and pickup schedule. When booking labor, provide the container type and size, inventory, heavy or difficult items, stairs, walking distance, and property-access conditions.
Use Professional loading help or the Truck and Container Calculator to continue planning. For this guide, apply the result to the Inspect the unit step and confirm the final scope, availability, minimums, and price in writing.